Set the direction.
Style and strength.
15 styles × 3 strength levels.
Color, skin tone, dimension, and vignette — processed together
and output as Photoshop layers.
Unlike presets, the structure lets you adjust each element individually afterward.
How is this different from a preset?
Sidekick Portrait doesn't paste an effect on top — it builds the processing as layers.
Output as layer structure
When you run it, the results come out as Photoshop layers. You can see exactly what was applied, and dial each element up, down, or off independently afterward.
Each style has its own processing recipe
"Beauty" and "Seiso" (clean/pure) don't just change parameters — the combination of processes itself is different by design.
- Seiso Milk → White ON, Shadow OFF, Dimension OFF
- Gravure → White + Shadow + Saturation all ON
- Cinematic → Adds teal shadow layer
- Monochrome → Adds zero-saturation conversion layer
Which style you choose is a creative decision about where you're taking the image. What goes on when you choose that style, and what stays off — that design is what Sidekick Portrait actually is.
Three controls, full range of results
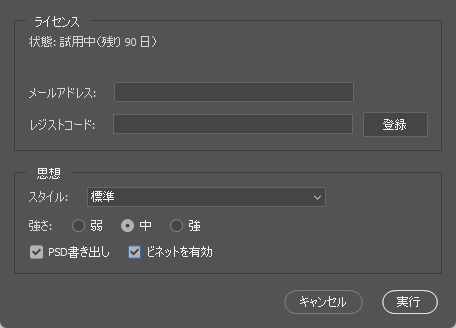
After choosing a style, set the strength, PSD export, and vignette — then run.
Strength (Light / Mid / Strong)
Three levels control how hard each process hits. Mid is the reference. Same style, very different impressions across strength levels.
PSD Export
When enabled, saves the result as a separate PSD file in a specified folder. Keeps your original intact while managing finished files separately.
Vignette
Toggle peripheral darkening on or off. Feather amount and blend mode are optimized per style. Turn it off to skip it entirely.
15 Styles — The concept and the result
Each style applied to the same original image.
Click any card to expand. ← → keys or < > buttons to compare styles side by side.
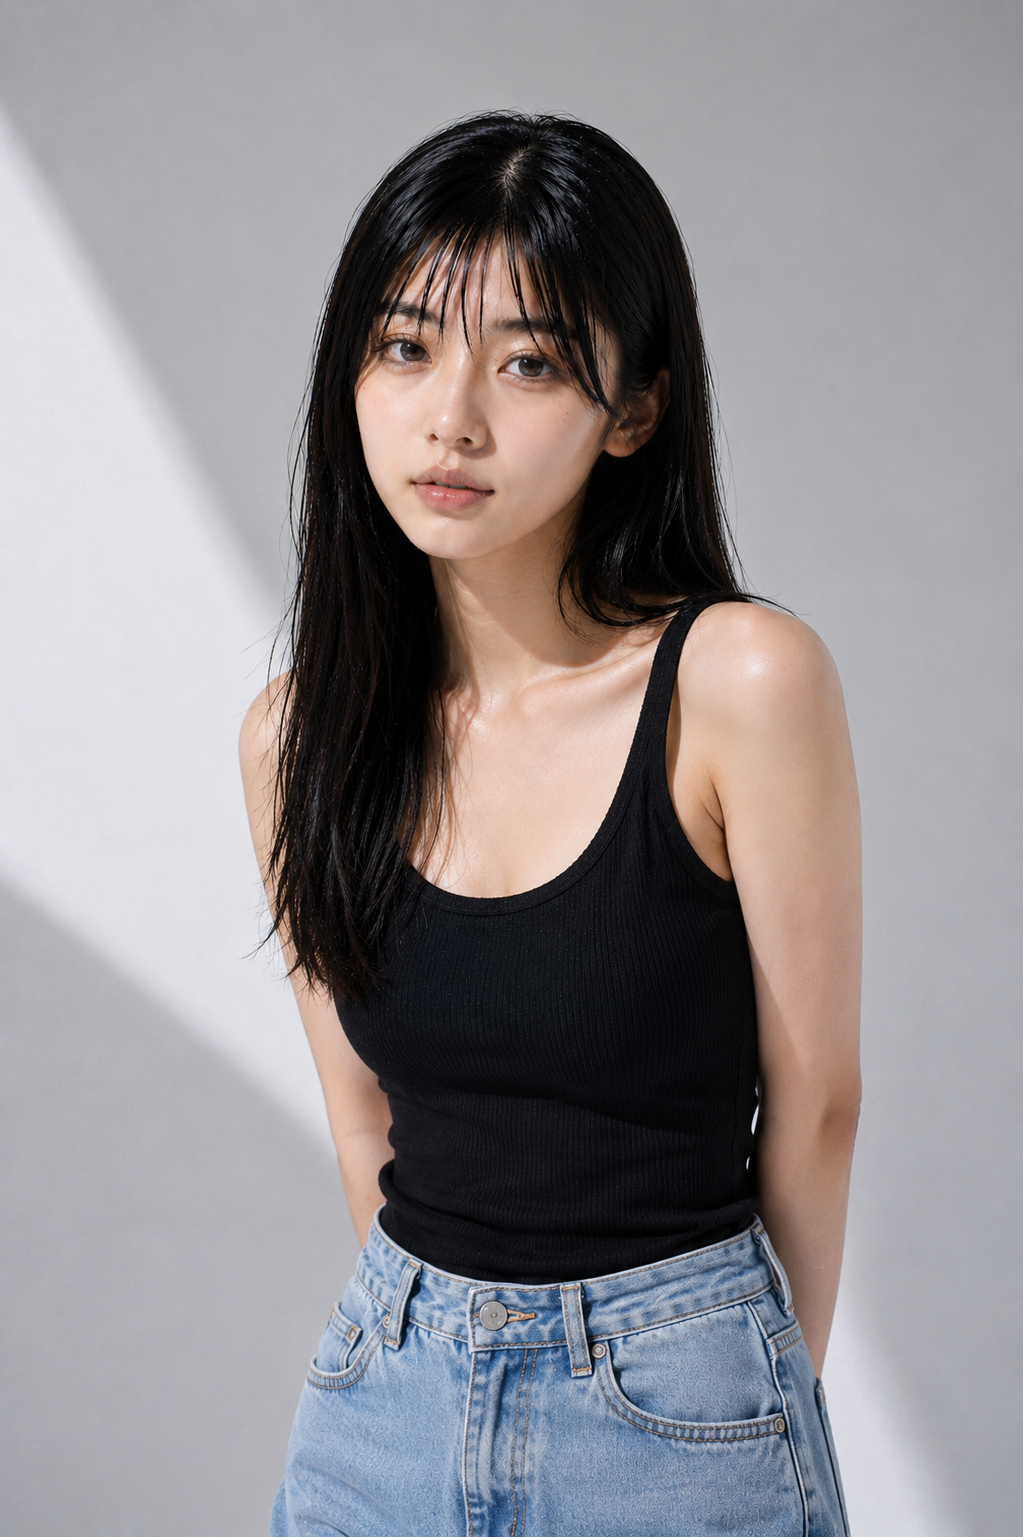
Before processing
All 15 styles below were applied to this single image.
See how far the same photo can go just by changing the style —
that choice is what Sidekick Portrait is about.
All at Mid strength. Background selected to match each style's intent.
Results shown as JPEG exports. When you actually run Sidekick Portrait, these results come out as stacked adjustment layers in Photoshop, each independently adjustable or toggleable.
How to use — 3 steps
Open an image in Photoshop and launch the script. That's the whole setup.
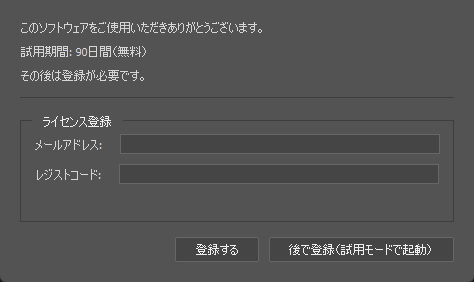
License check
On first launch, a license screen appears. Choose "Skip registration (trial mode)" to get full access free for 90 days.
Choose style and strength
Select a style from the "Intent" dropdown. Set strength (Light/Mid/Strong), vignette, and PSD export options, then hit Run.
Adjust in the layers panel
Results come out as Photoshop layers. Tweak individual layer opacity, toggle layers off, and nudge toward your vision from there.
the Photoshop Layers panel.
Fully adjustable at any time.
Who this is for
Your direction shifts shoot to shoot
Every session the light is different, and you're figuring out where to take the image from scratch every time.
Same steps, every single time
Skin cleanup, vignette, color direction — you repeat them on every portrait and they still come out slightly different.
You know the direction but can't execute it cleanly
You know you want a beauty look. But getting there consistently is harder than it sounds.
Try it free for 90 days.
No credit card required. Just unzip and launch from Photoshop's Scripts menu.
Full features during the trial. Registration (paid) required after 90 days.