Sky and ground —
each in its own light.
Open the same RAW twice — once for sky WB, once for ground WB — then composite with SkyMask. Sunset, Blue Hour, or Clear Sky, all the way to finished in one click.
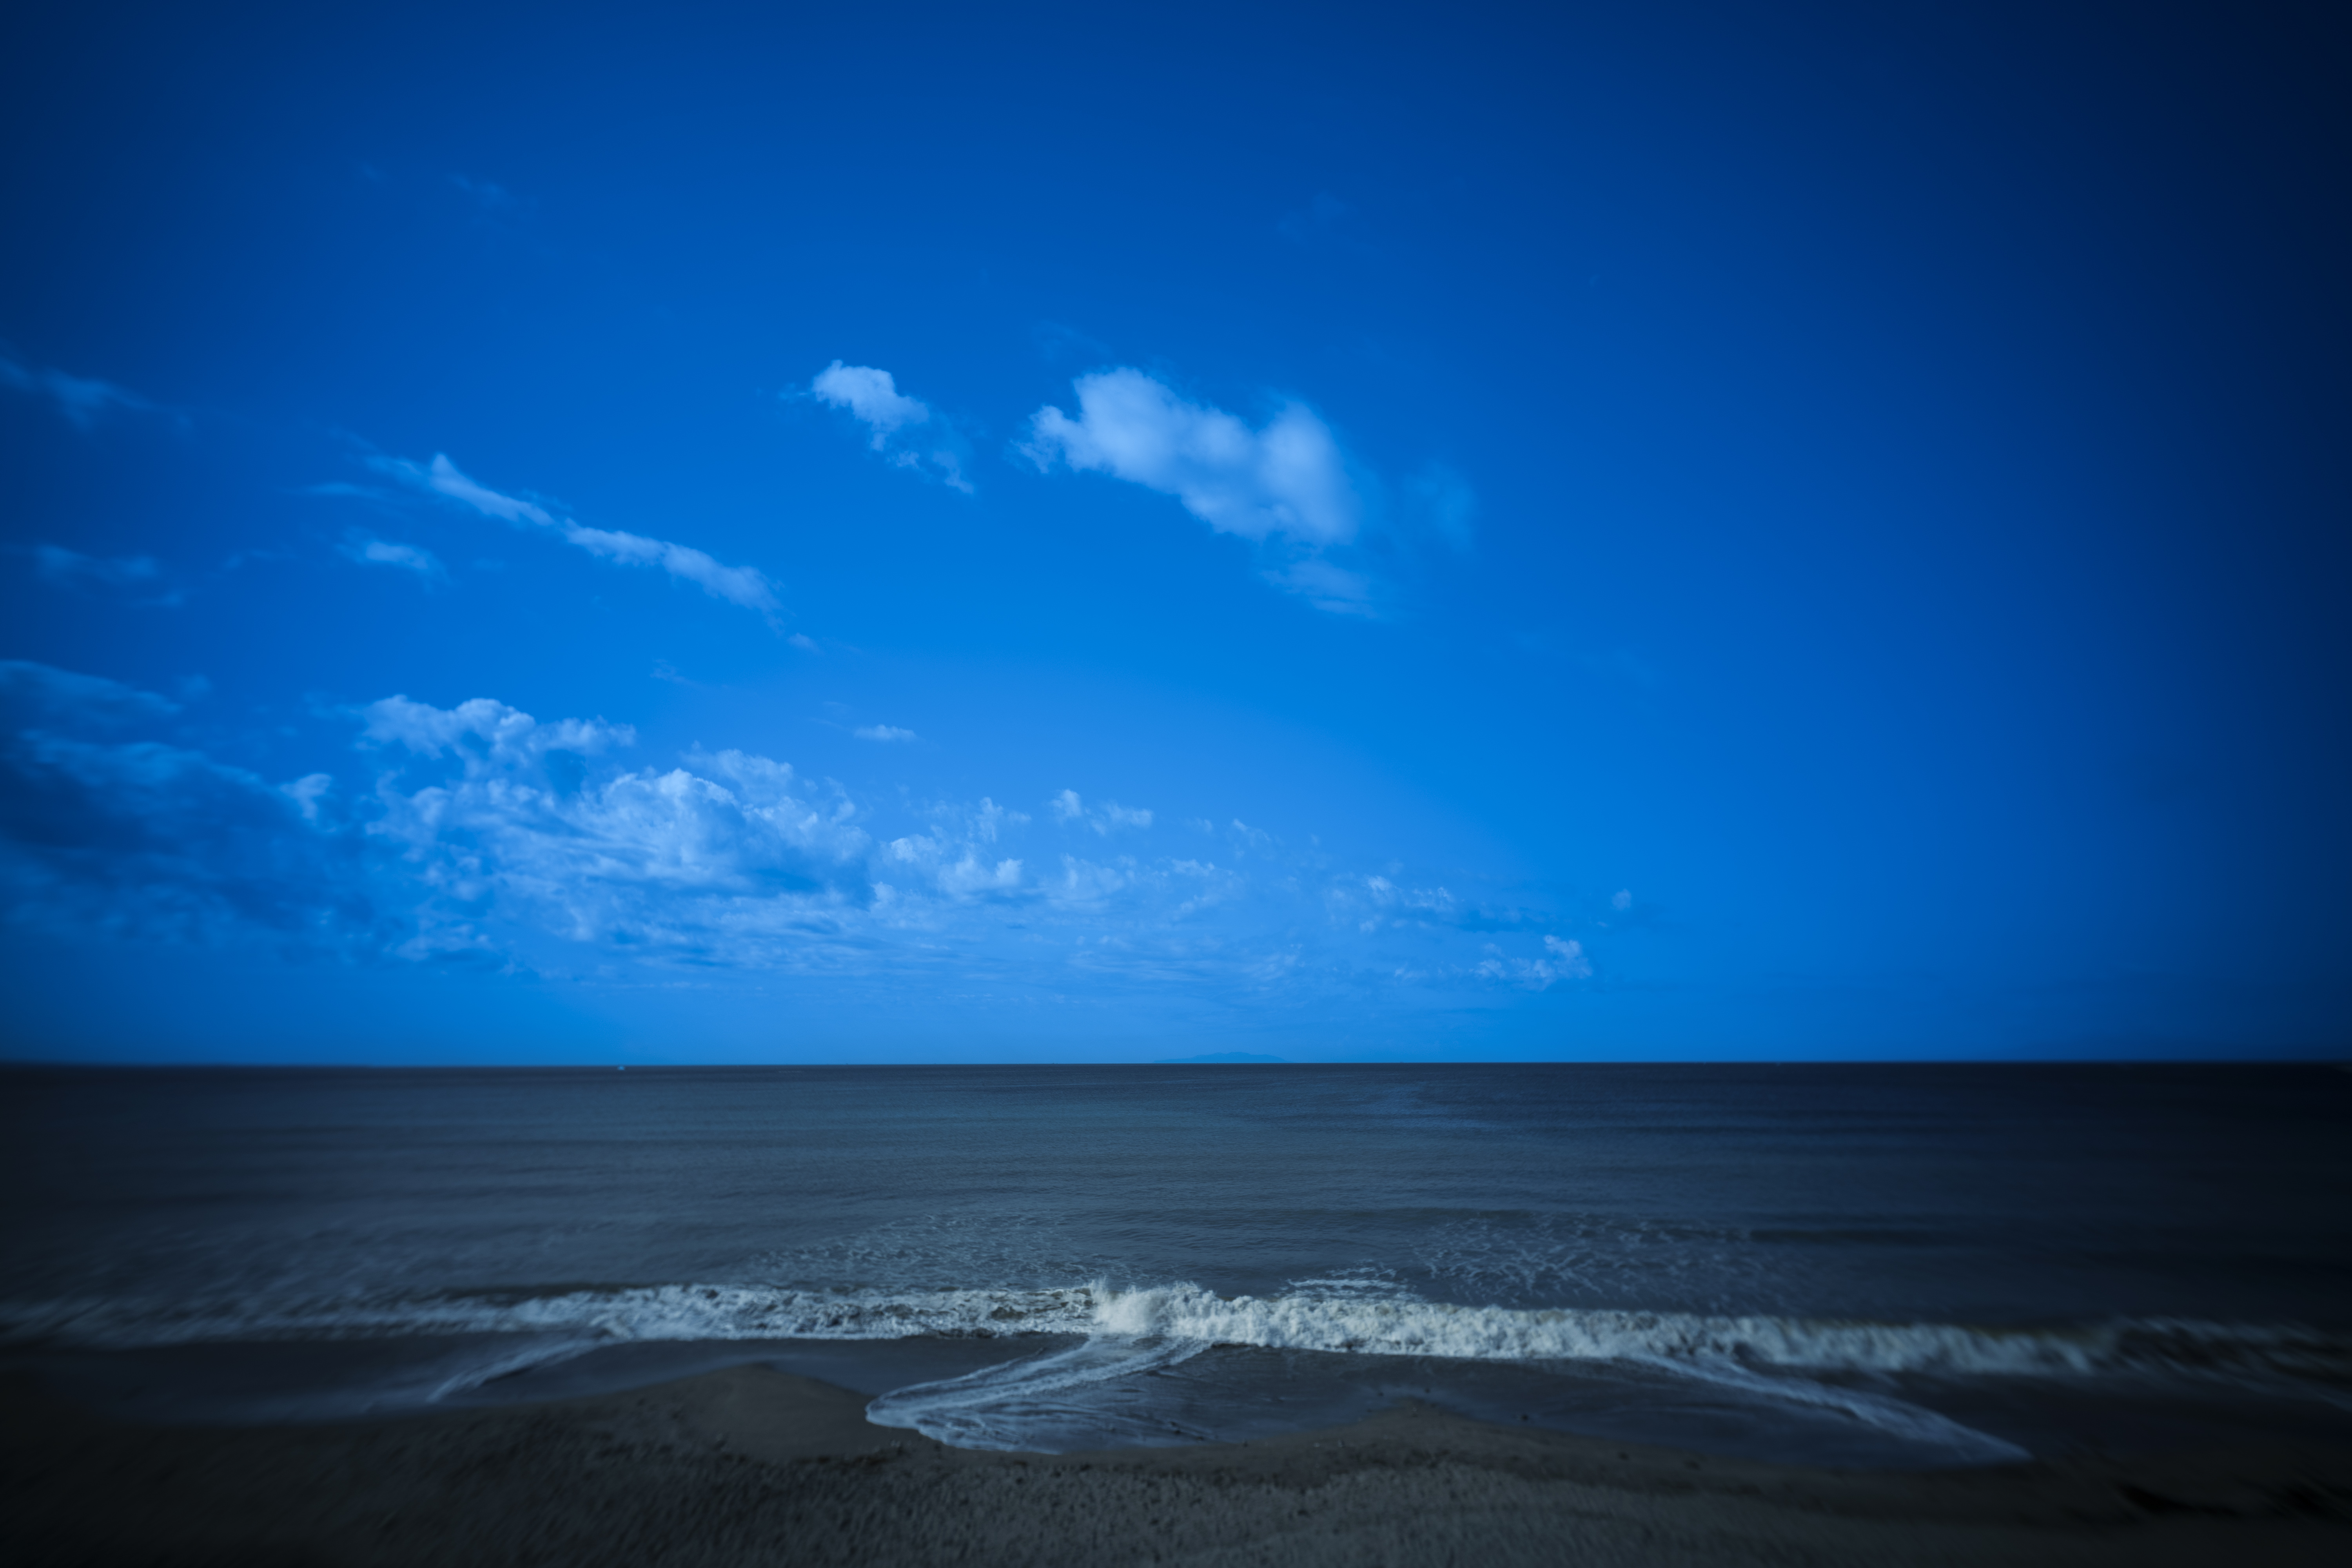 Blue Hour intent applied
Does this sound familiar?
When the sky is the subject, the same problems come up on every shoot.
Sky and ground color temp don't match
Match the WB to the sunset sky and the ground goes orange. Match it to the ground and the sky dies. You're stuck choosing between them every time.
Building the mask is always a chore
You want to process sky and ground separately, but the SkyMask step never becomes a clean routine.
The result drifts shoot to shoot
You know what you're going for — sunset, blue hour — but every time you reach for sliders, the landing point shifts.
it's the accumulated judgment of years of sky shooting, packaged as a tool.
From RAW development through SkyMask generation, compositing, and color overlay — the workflow that keeps repeating, scripted as-is. Not a preset. The actual workflow.
How is this different from a preset?
Sidekick Sky Effect doesn't paste a look on top — it runs the whole pipeline from RAW development to compositing and finishing.
Dual-WB RAW compositing
The same RAW file is opened twice — once with sky WB, once with ground WB — then composited using SkyMask / GroundMask. One develop can't give you the right light for both at once. This does.
3 intents
After the dual-WB composite, optimized color overlays are applied for sky and ground independently. Processing remains as editable Photoshop layers — opacity and visibility are fully adjustable afterward.
- Sunset — warm tones × high-temp WB to burn the sky
- Blue Hour — low-temp WB for deep, cool blue
- Clear Sky — daylight WB with boosted blue
- Sky and ground controlled independently
3 Intents — Design and color direction
Each intent has its own WB temperatures, color overlay, and opacity — all pre-optimized.
Sky opened at 25,000K+ to burn it, warm soft-light overlay to push the golden hour further. Ground kept in warm tones for overall cohesion.
Sky opened at 2,500K for deep, rich blue. Ground at 5,000K stays neutral, letting the sky contrast punch through.
Near-daylight (4,800K) to enhance sky blue, with COLOR BLEND overlay for pure blue saturation. Ground at 5,500K for natural sunny warmth.
Gallery — 3 intents on the same RAW
Each intent applied to the same RAW file.
Click any card to expand. ← → keys or < > buttons to compare scenes.
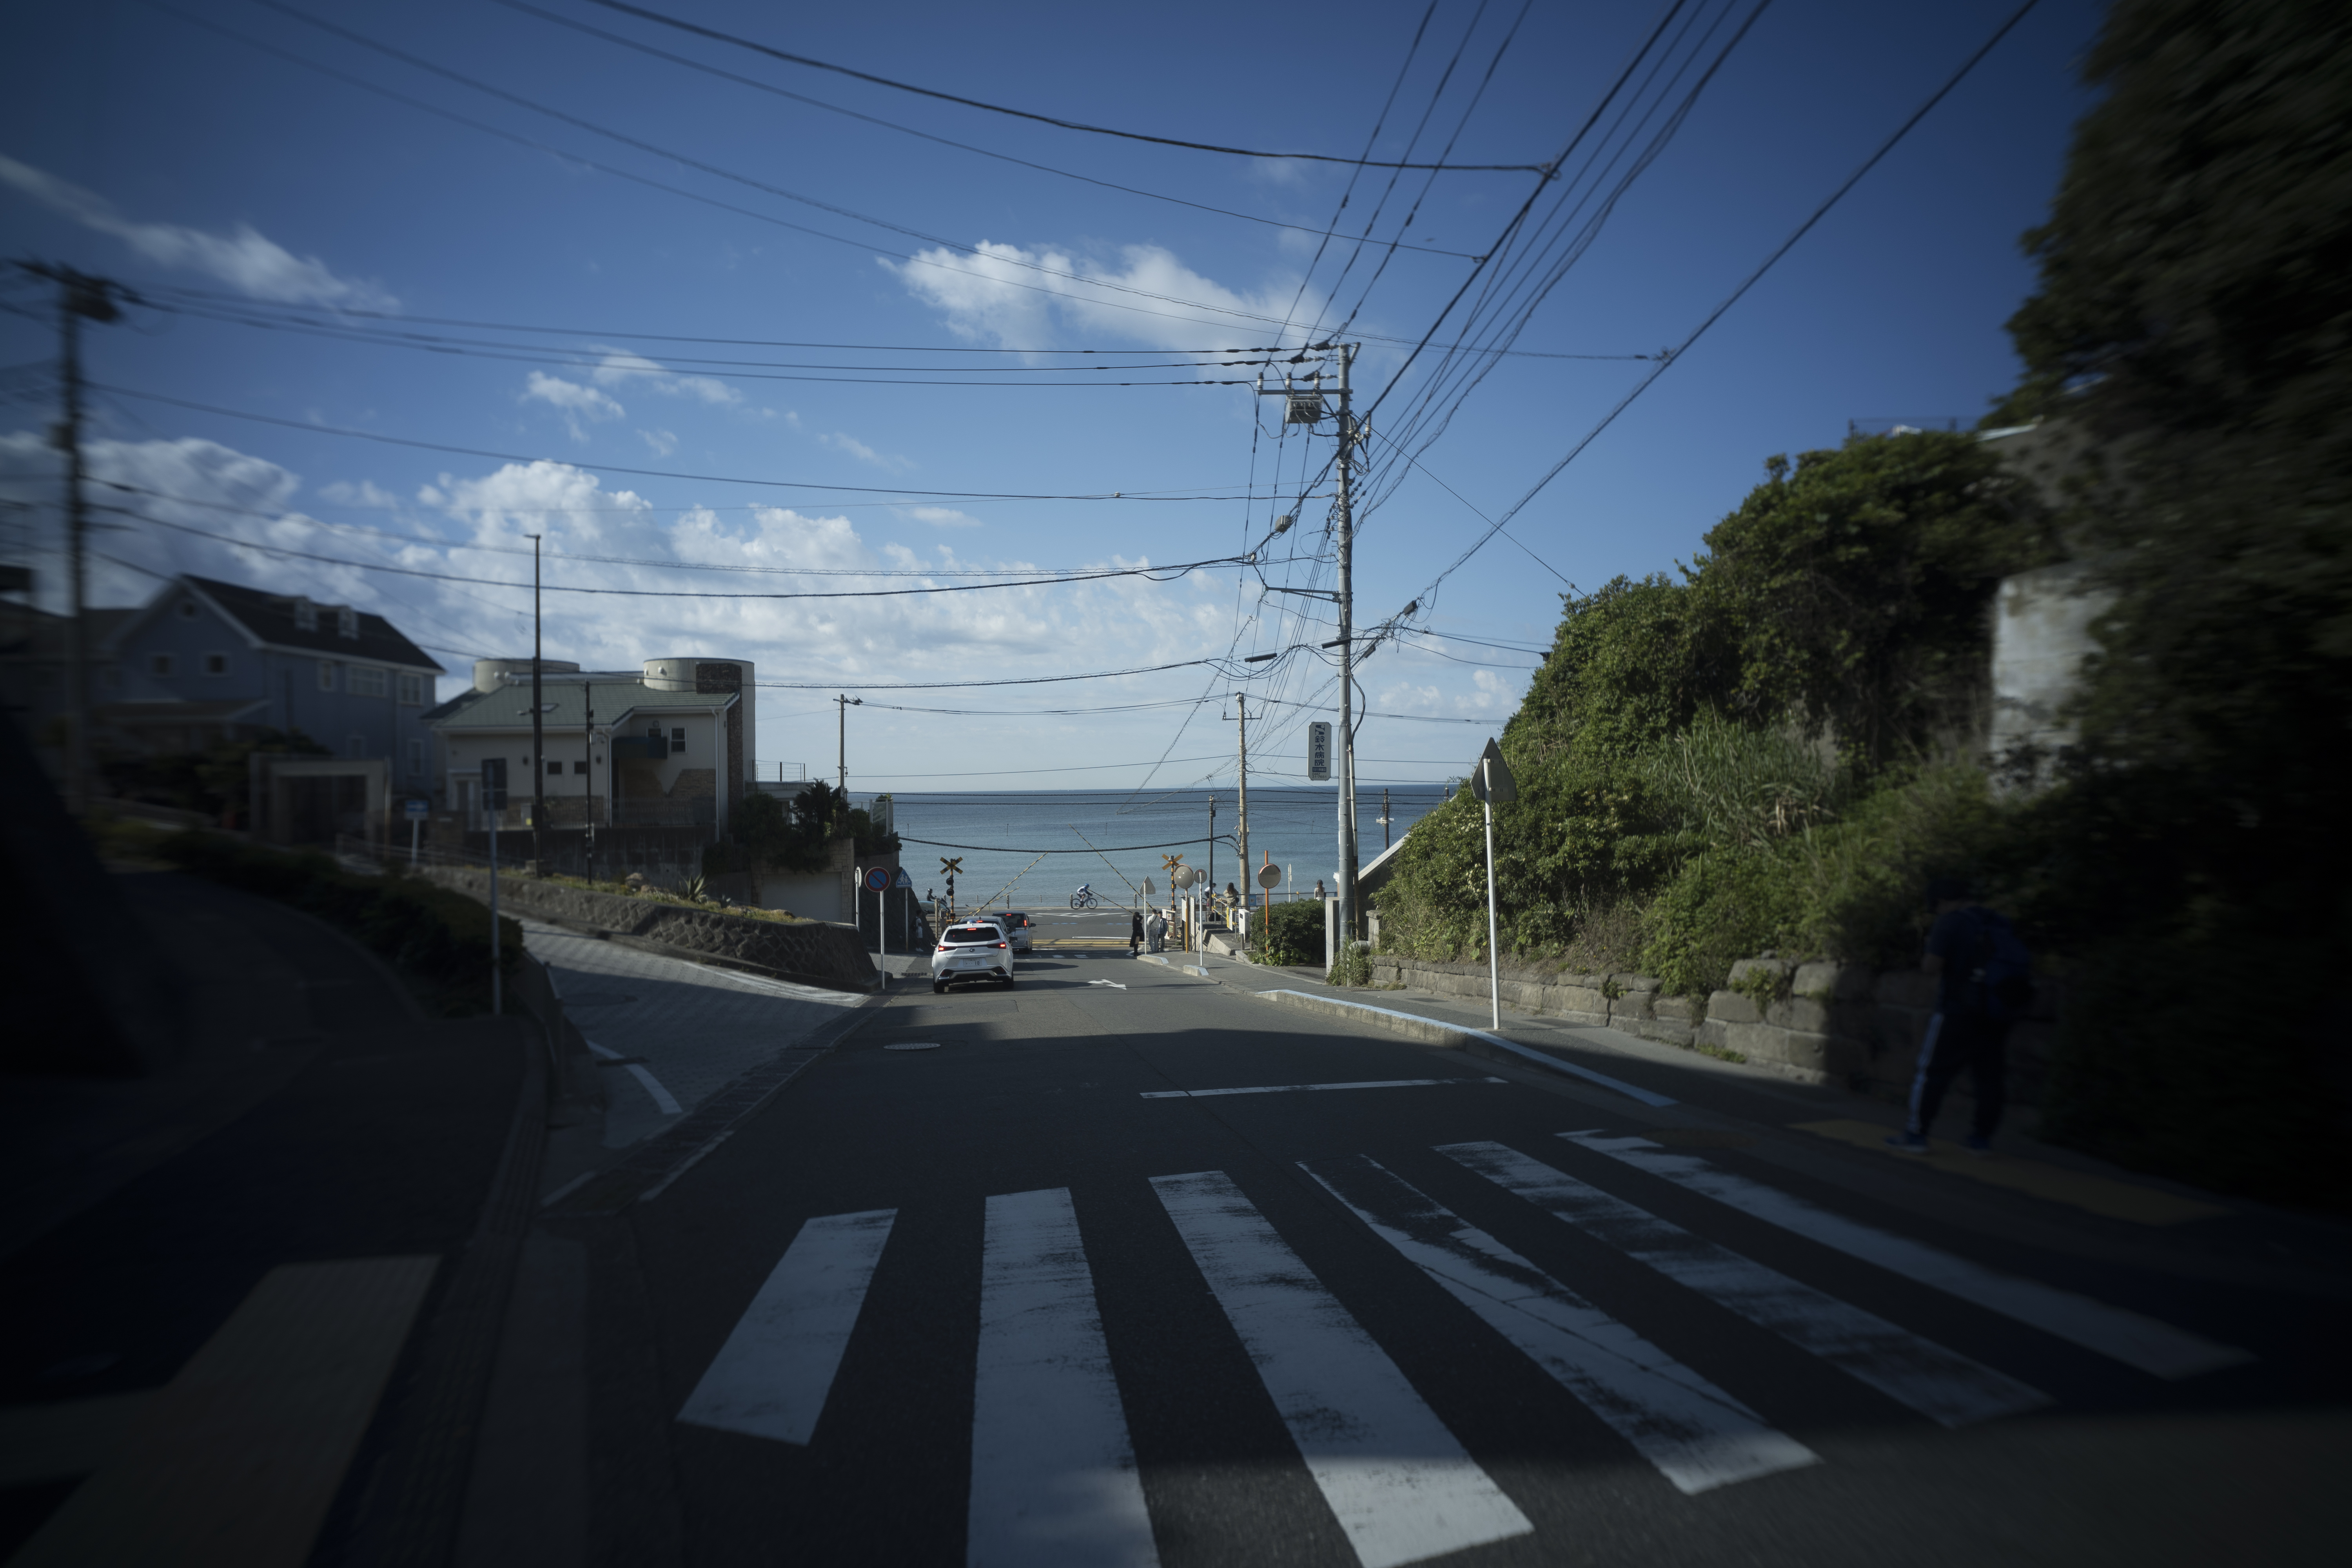
Before processing (Scene 1)
A narrow residential path with the sea at the end.
SkyMask accurately separates sky from ground even with a complex foreground.
Even intricate foregrounds — SkyMask handles the sky region automatically.
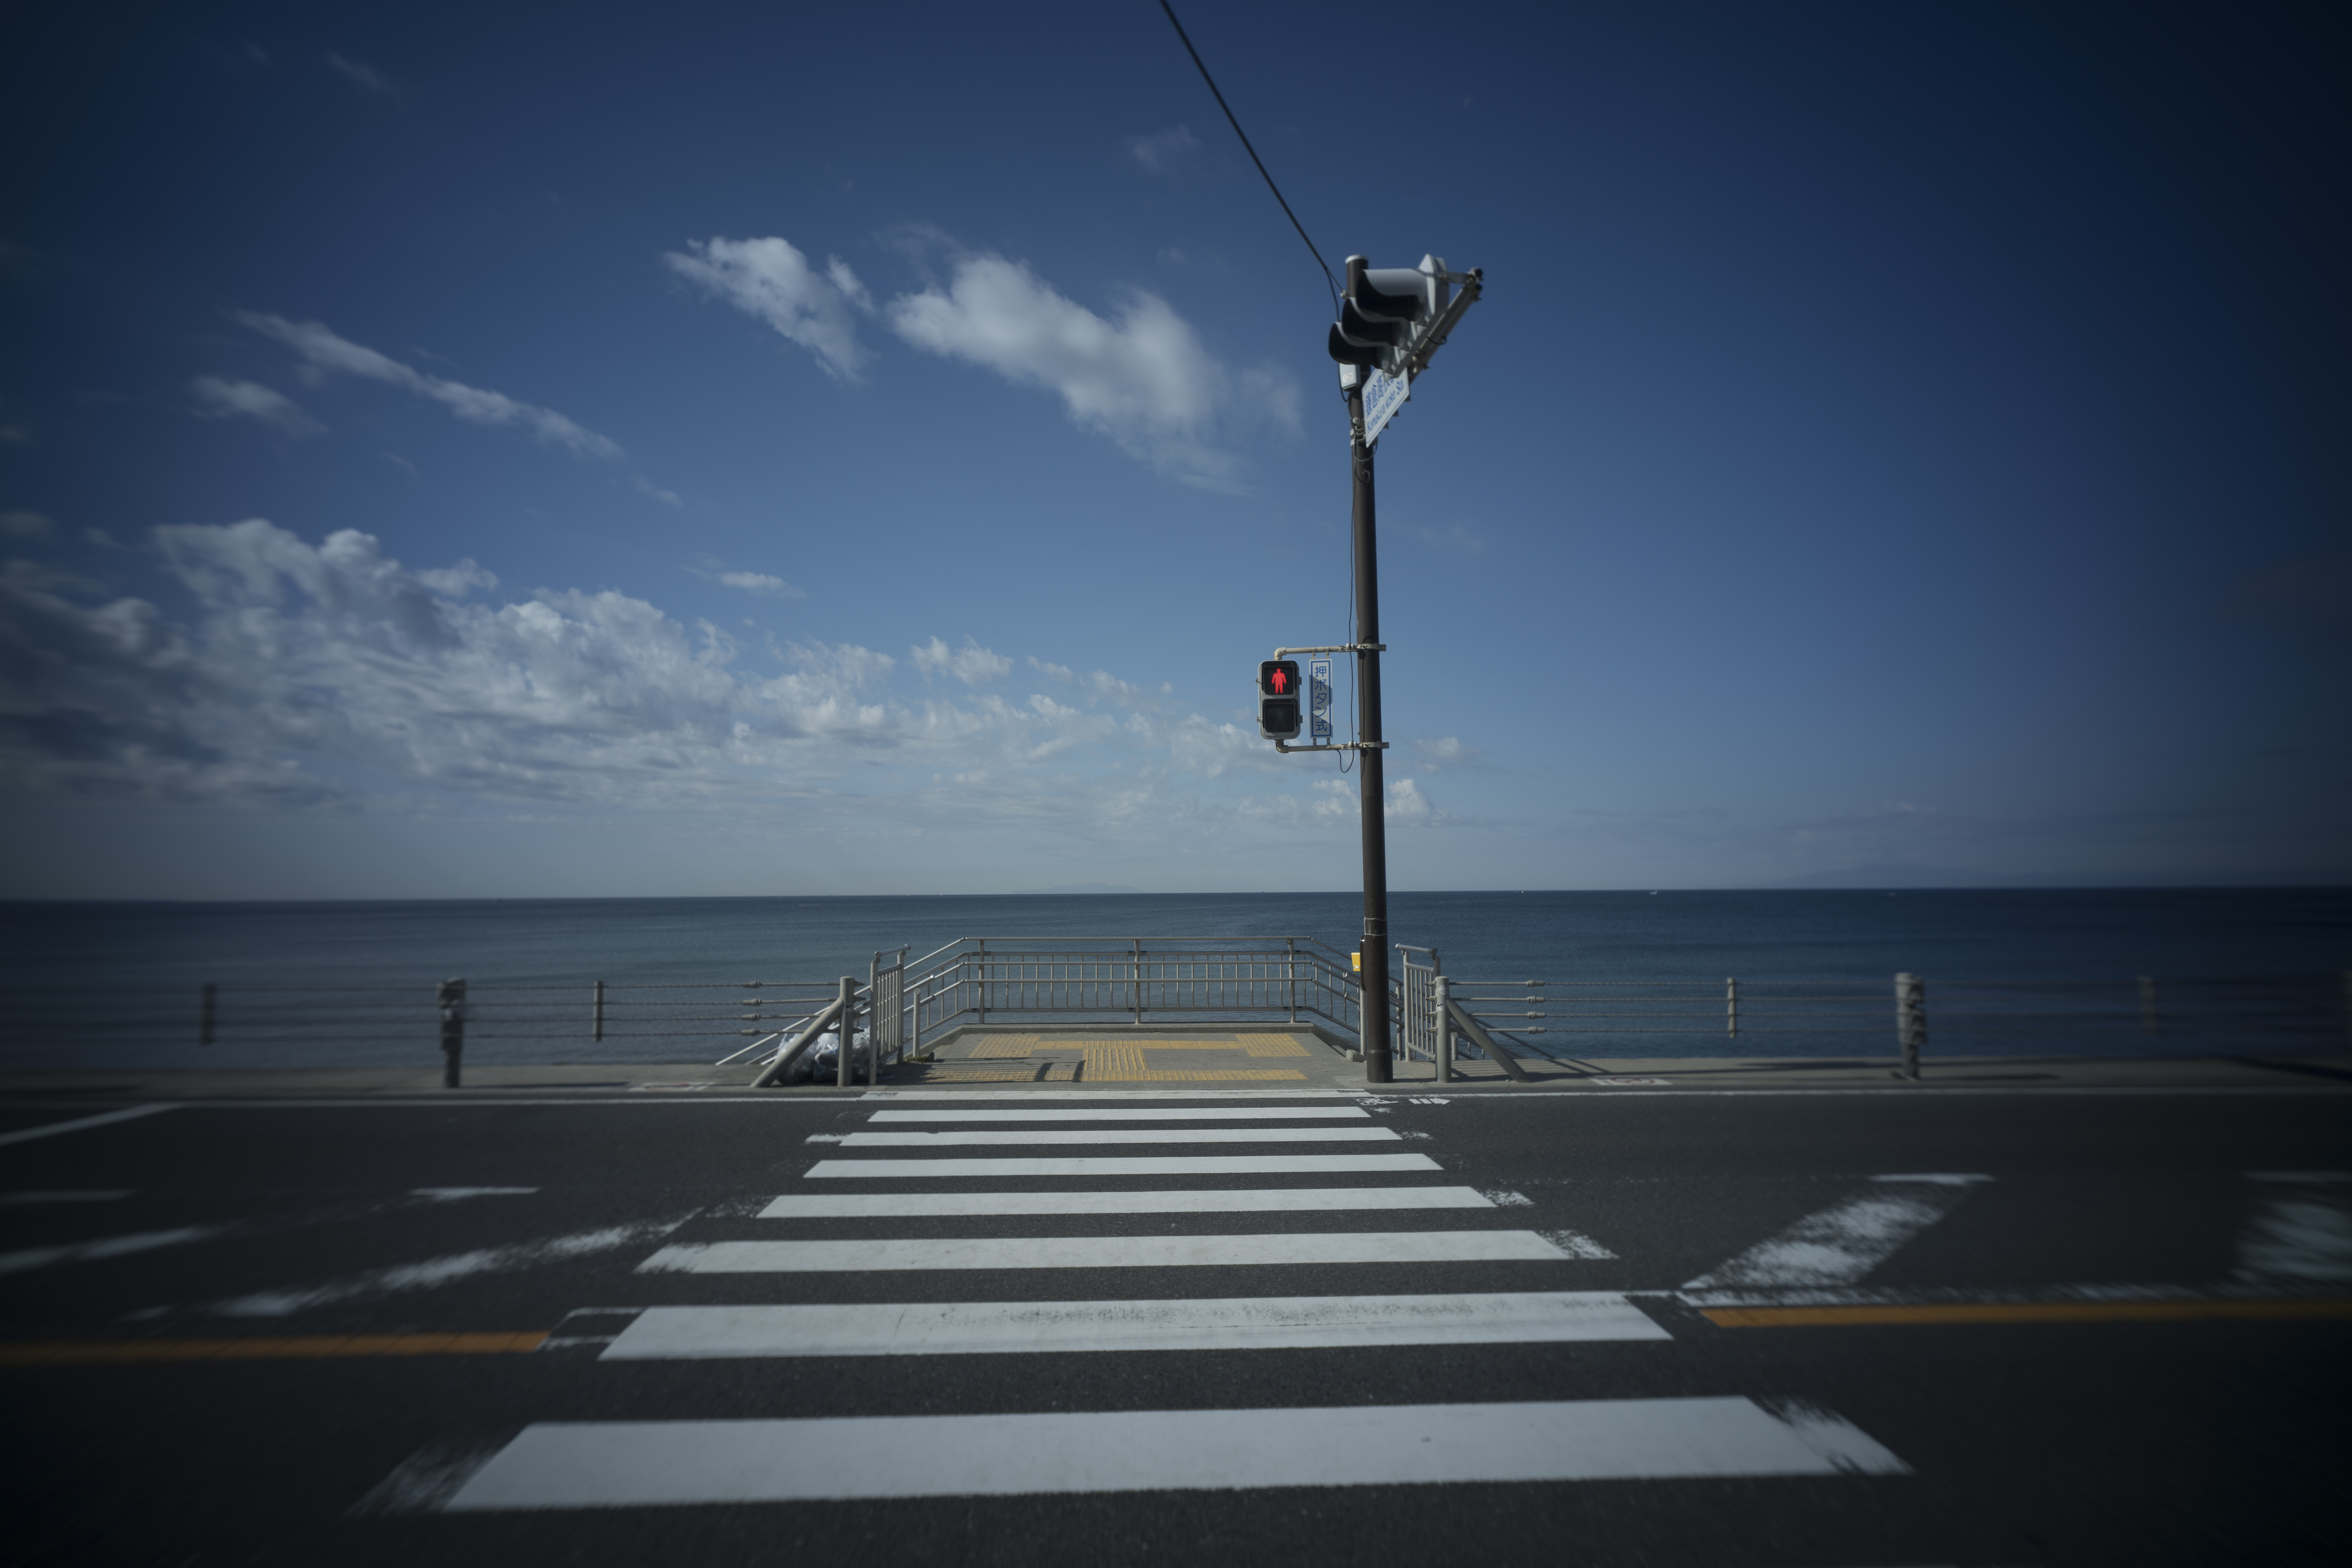
Before processing (Scene 2)
Crosswalk and traffic light with the sea behind. Sky occupies a large area — the intent color shift is very visible.
Ground colors (road, signals) stay mostly intact while only the sky changes.
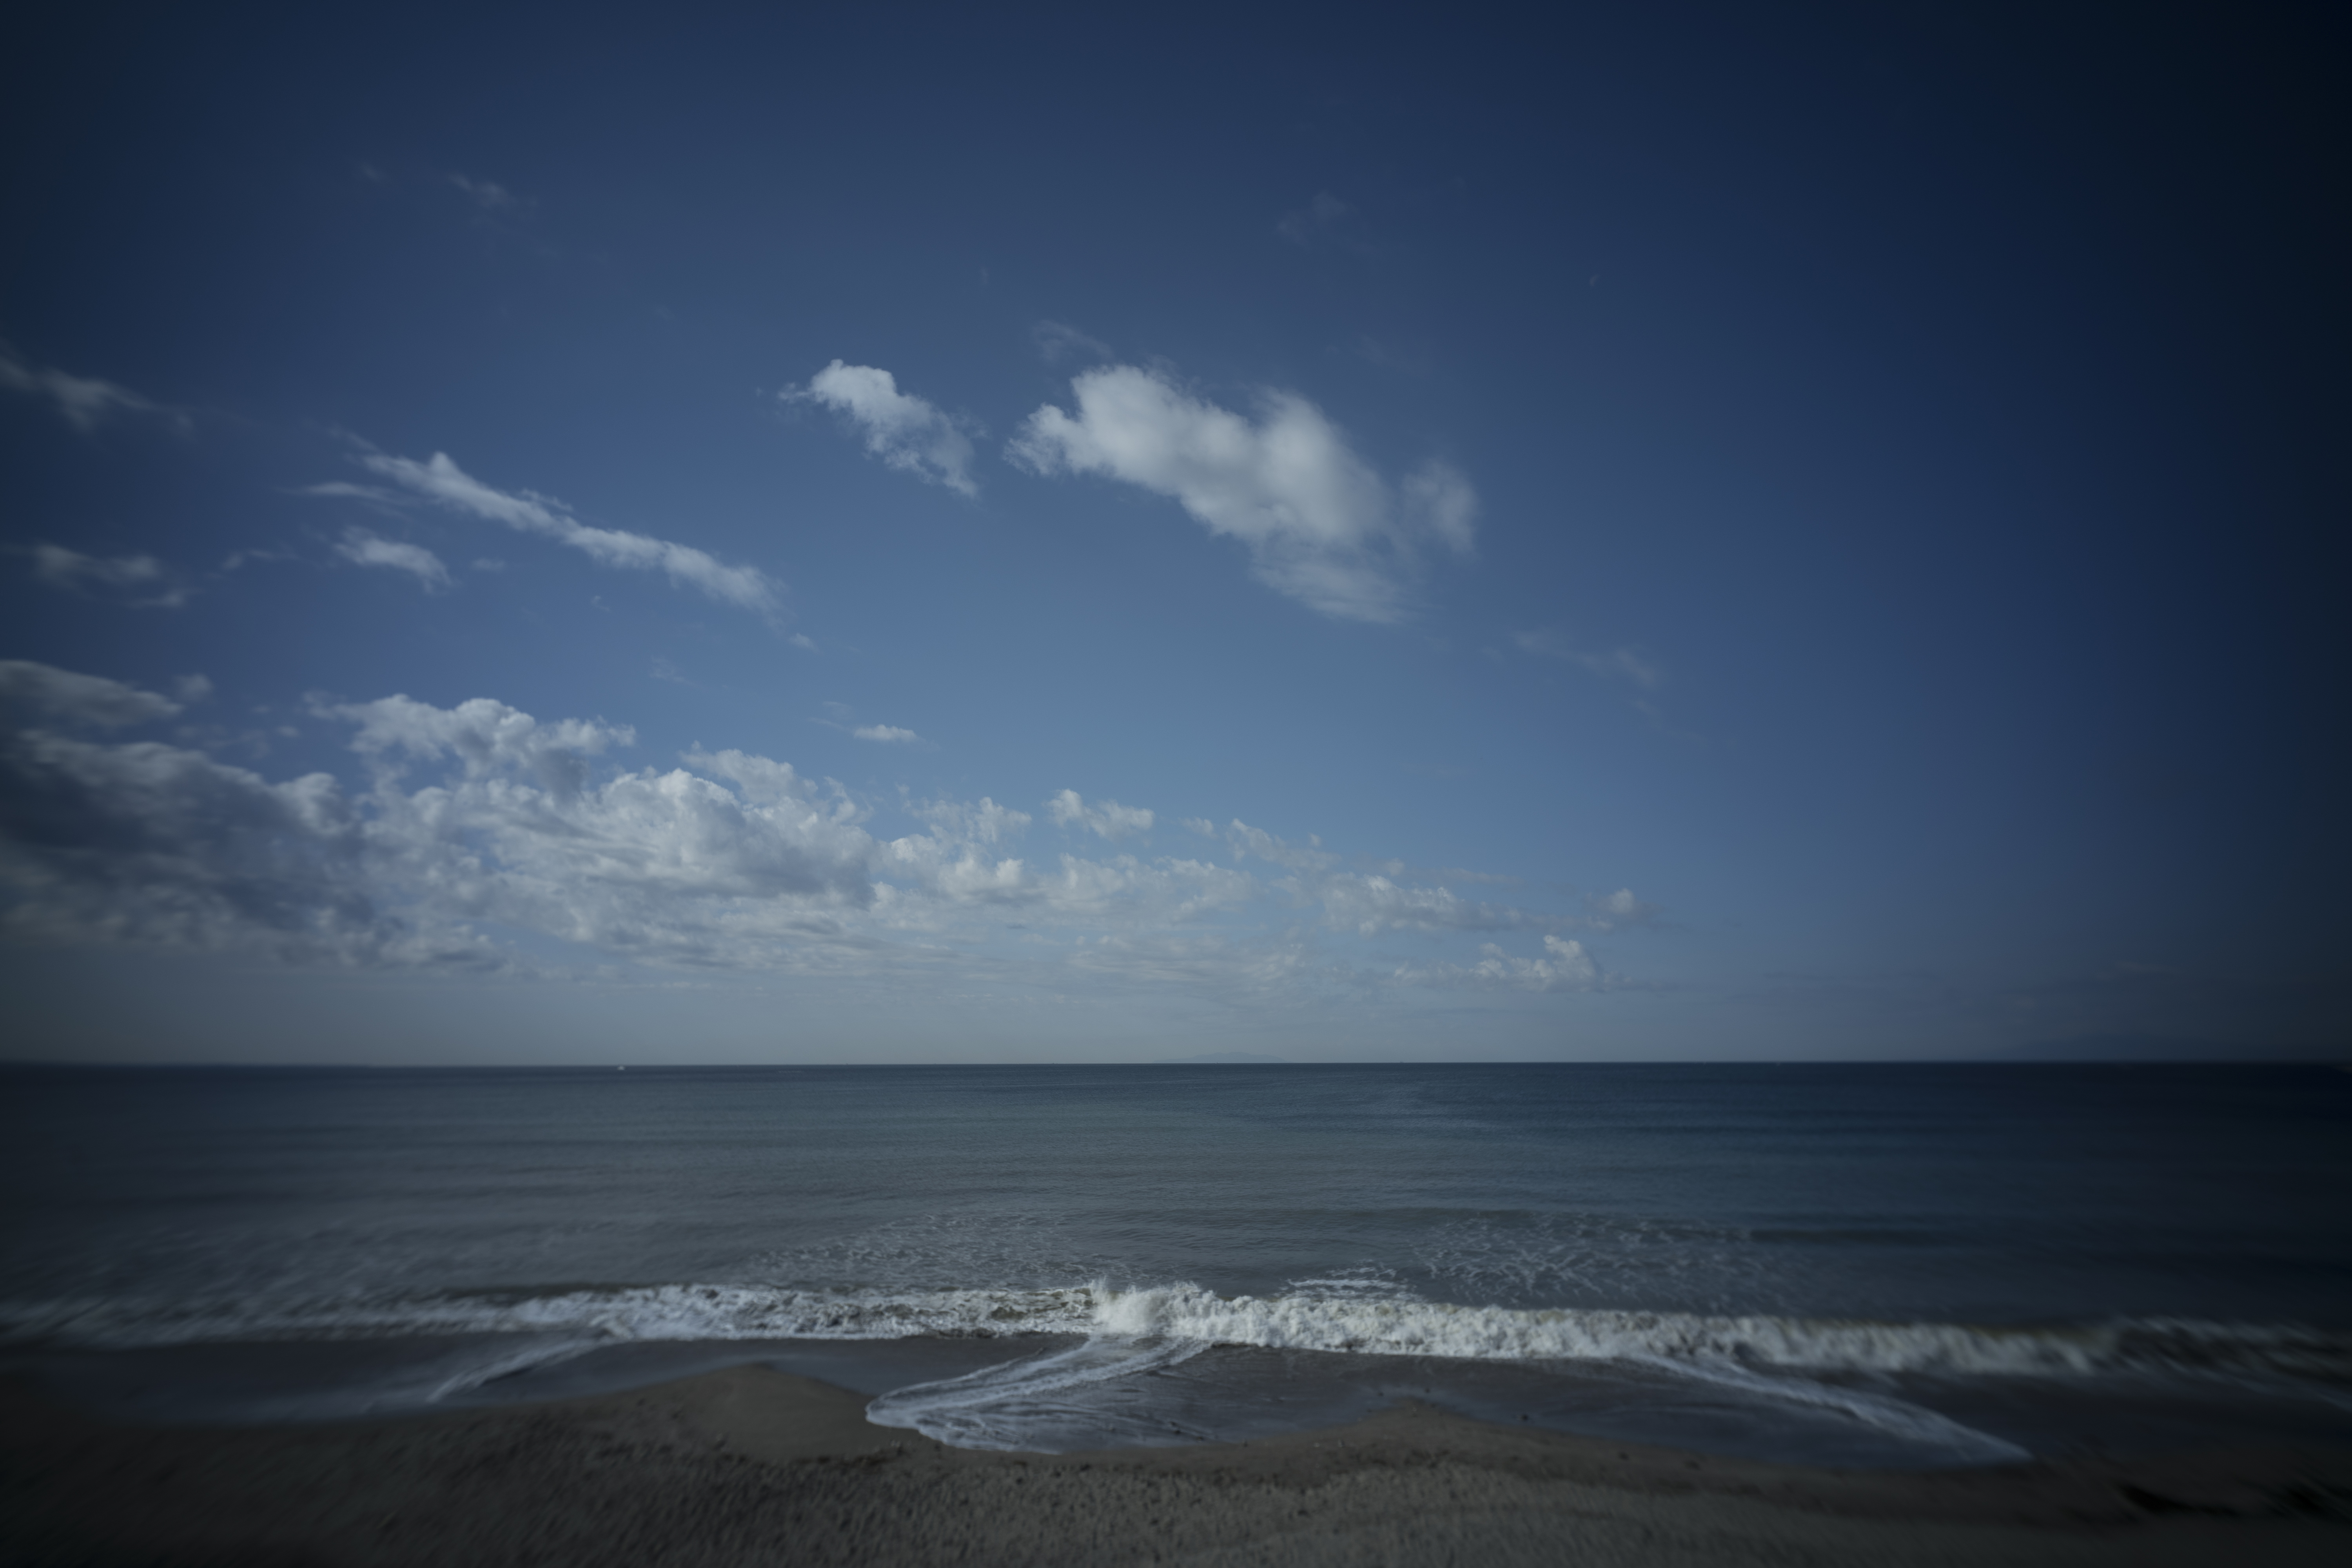
Before processing (Scene 3)
Cumulus clouds seen from the beach. The clouds transform dramatically between intents.
RAW opened twice with sky/ground WB, composited with SkyMask.
Opacity and layer visibility adjustable at any time afterward.
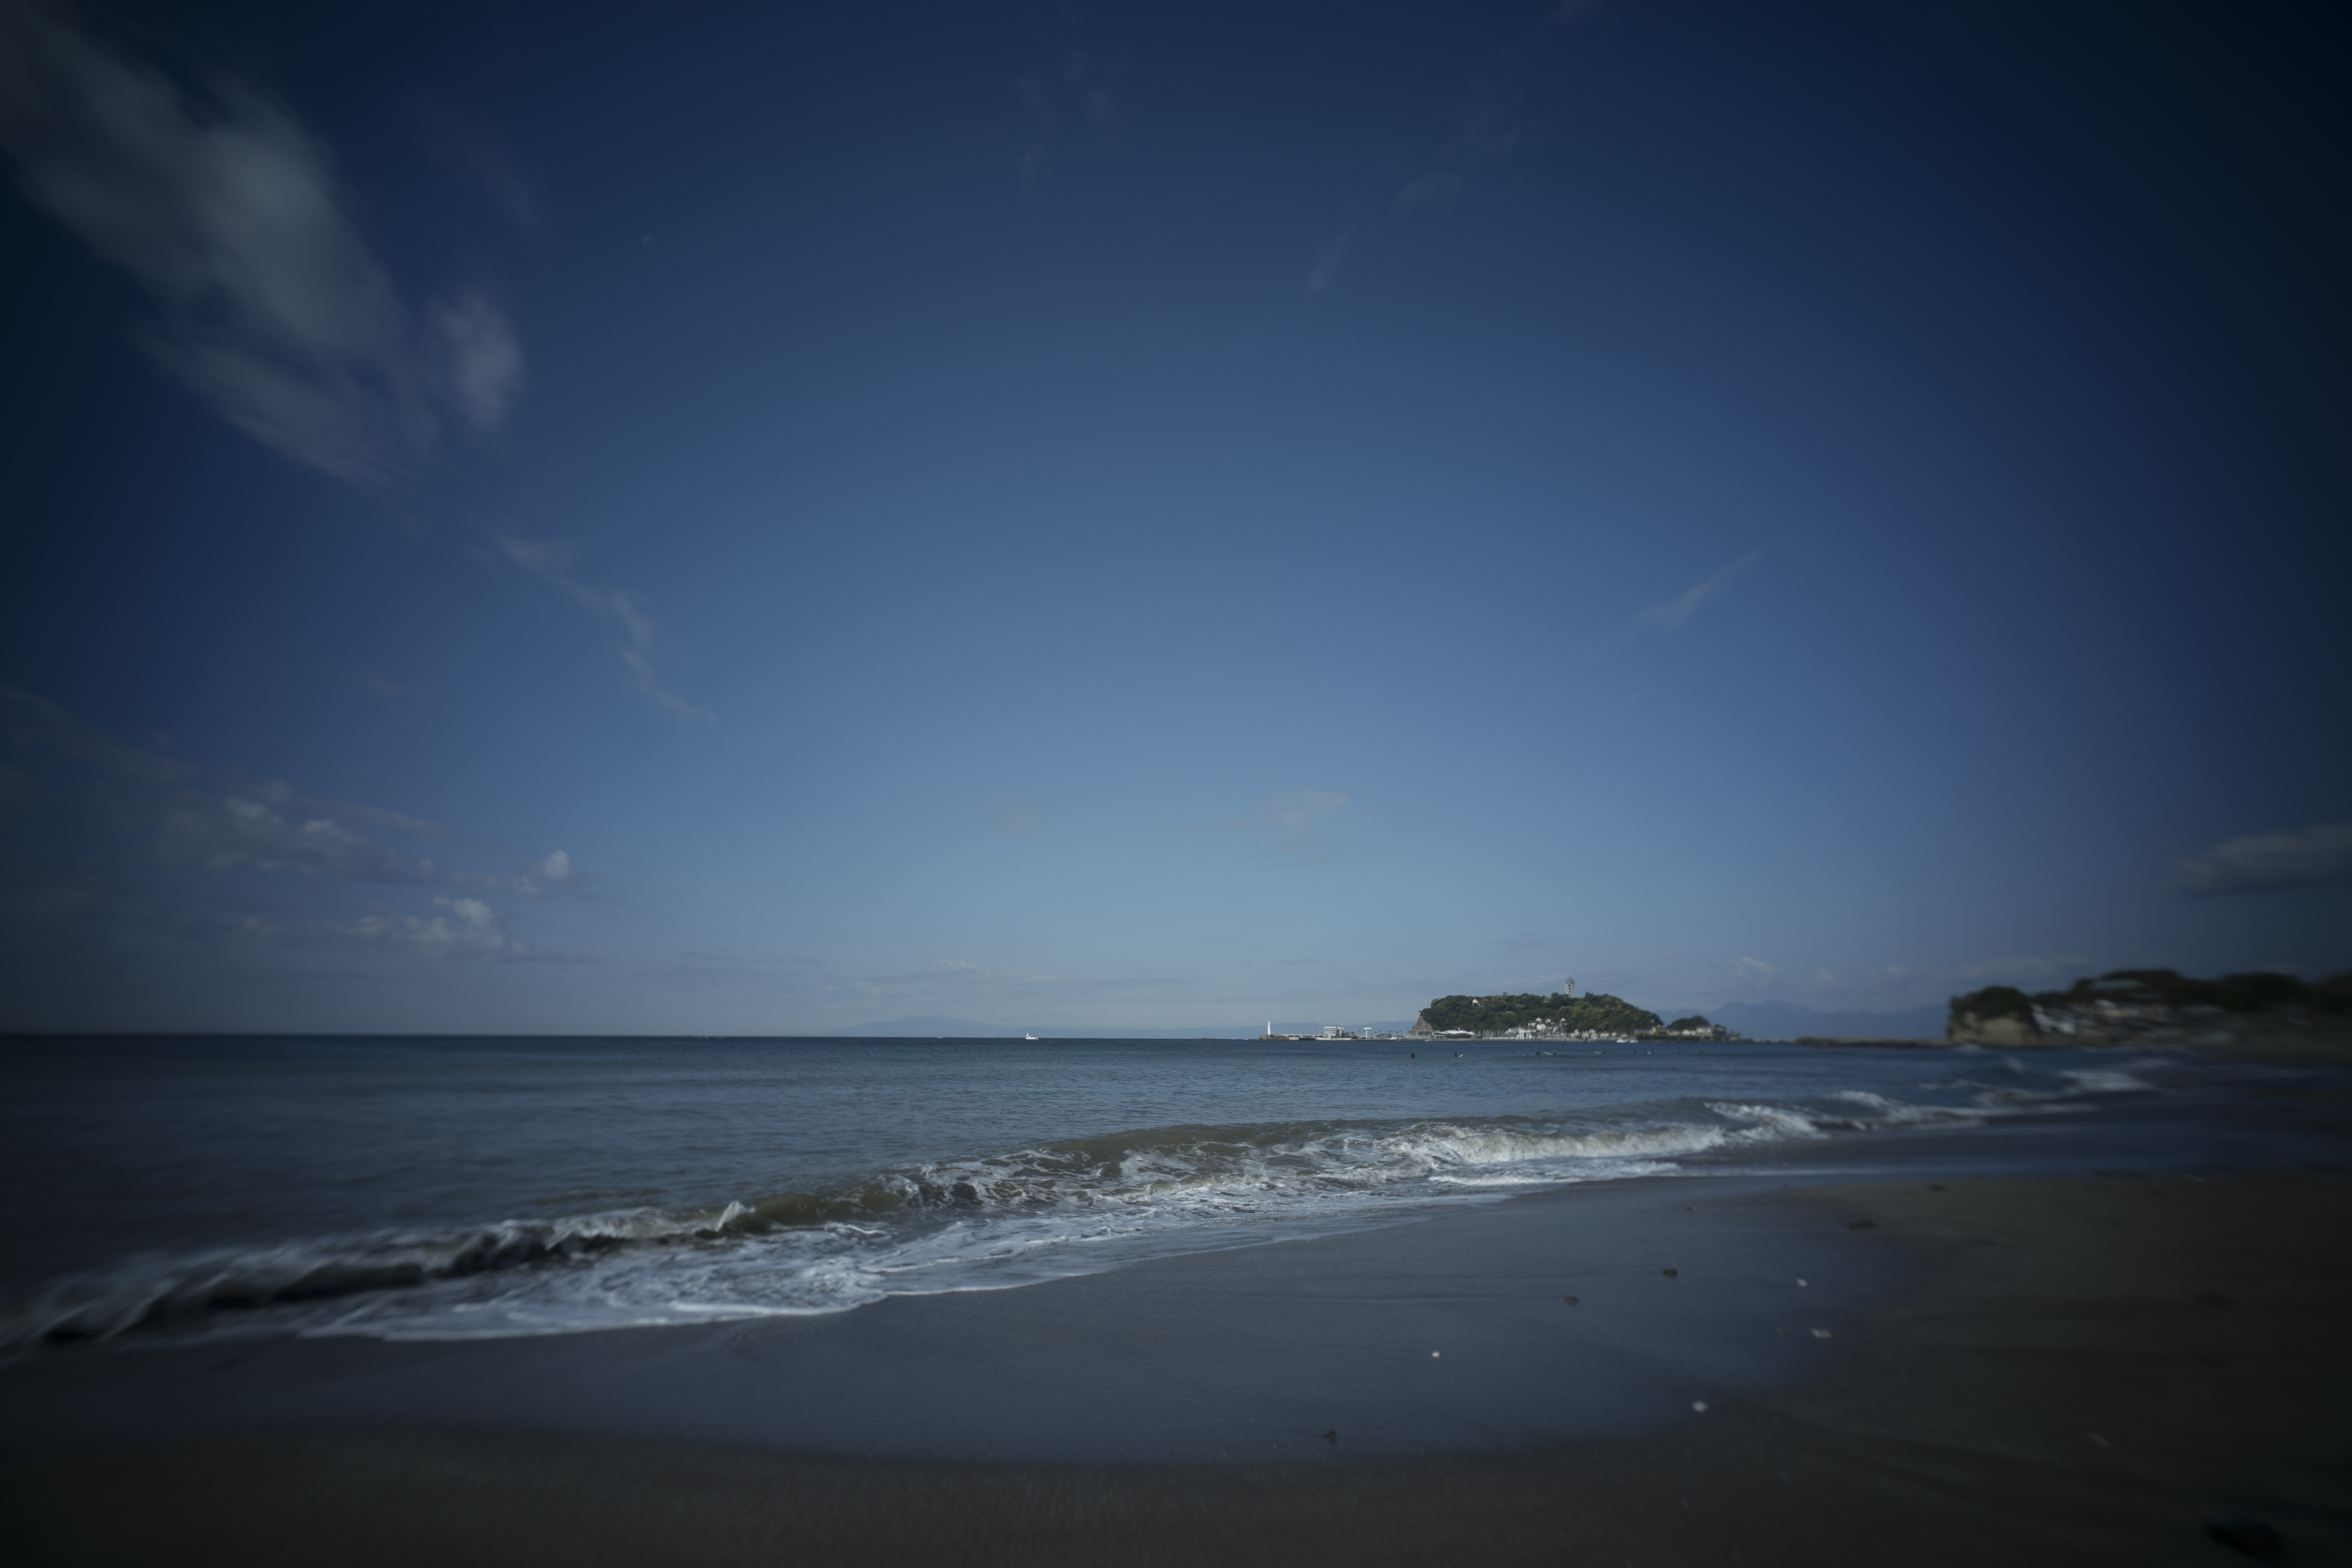
Before processing (Scene 4)
Beach looking toward an island. Horizon and sky take up most of the frame — one of the clearest comparisons of all 3 intents.
Same shot: switch intents to go from morning to evening to dusk.
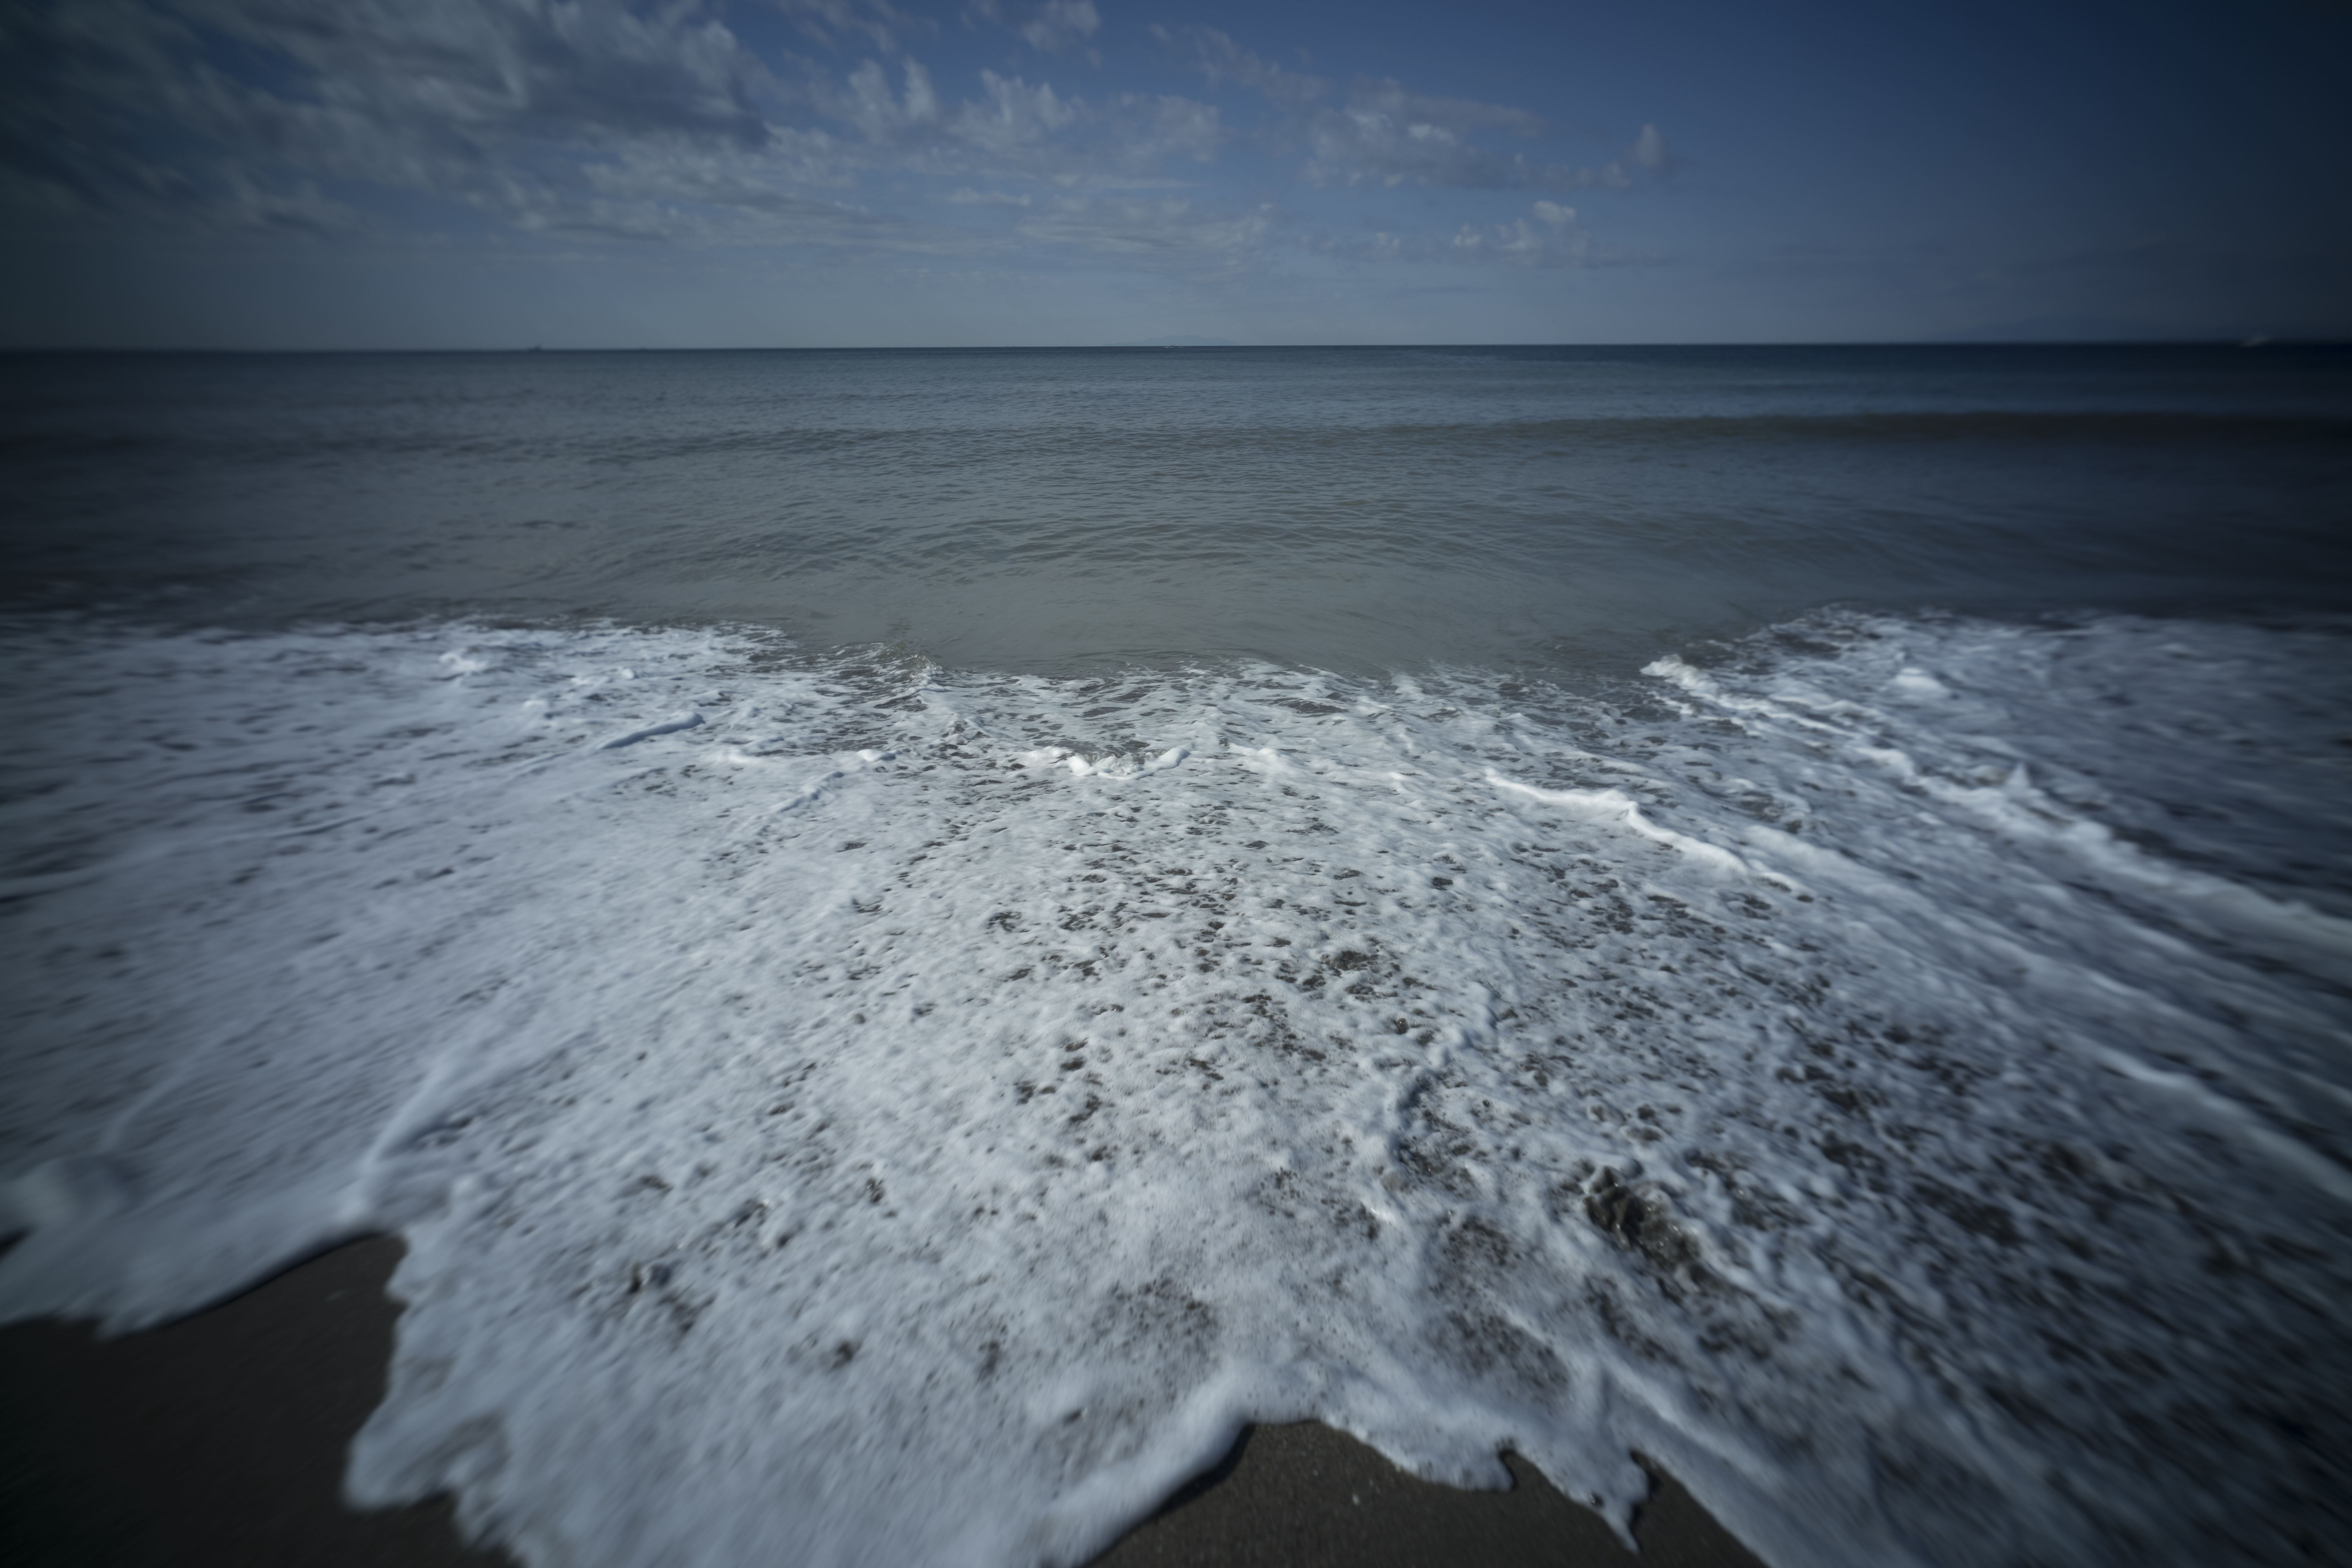
Before processing (Scene 5)
Waves breaking close to the shoreline. Ground (sand, surf) dominates — a good test of SkyMask accuracy.
Different light conditions, different scenes — same workflow runs every time.
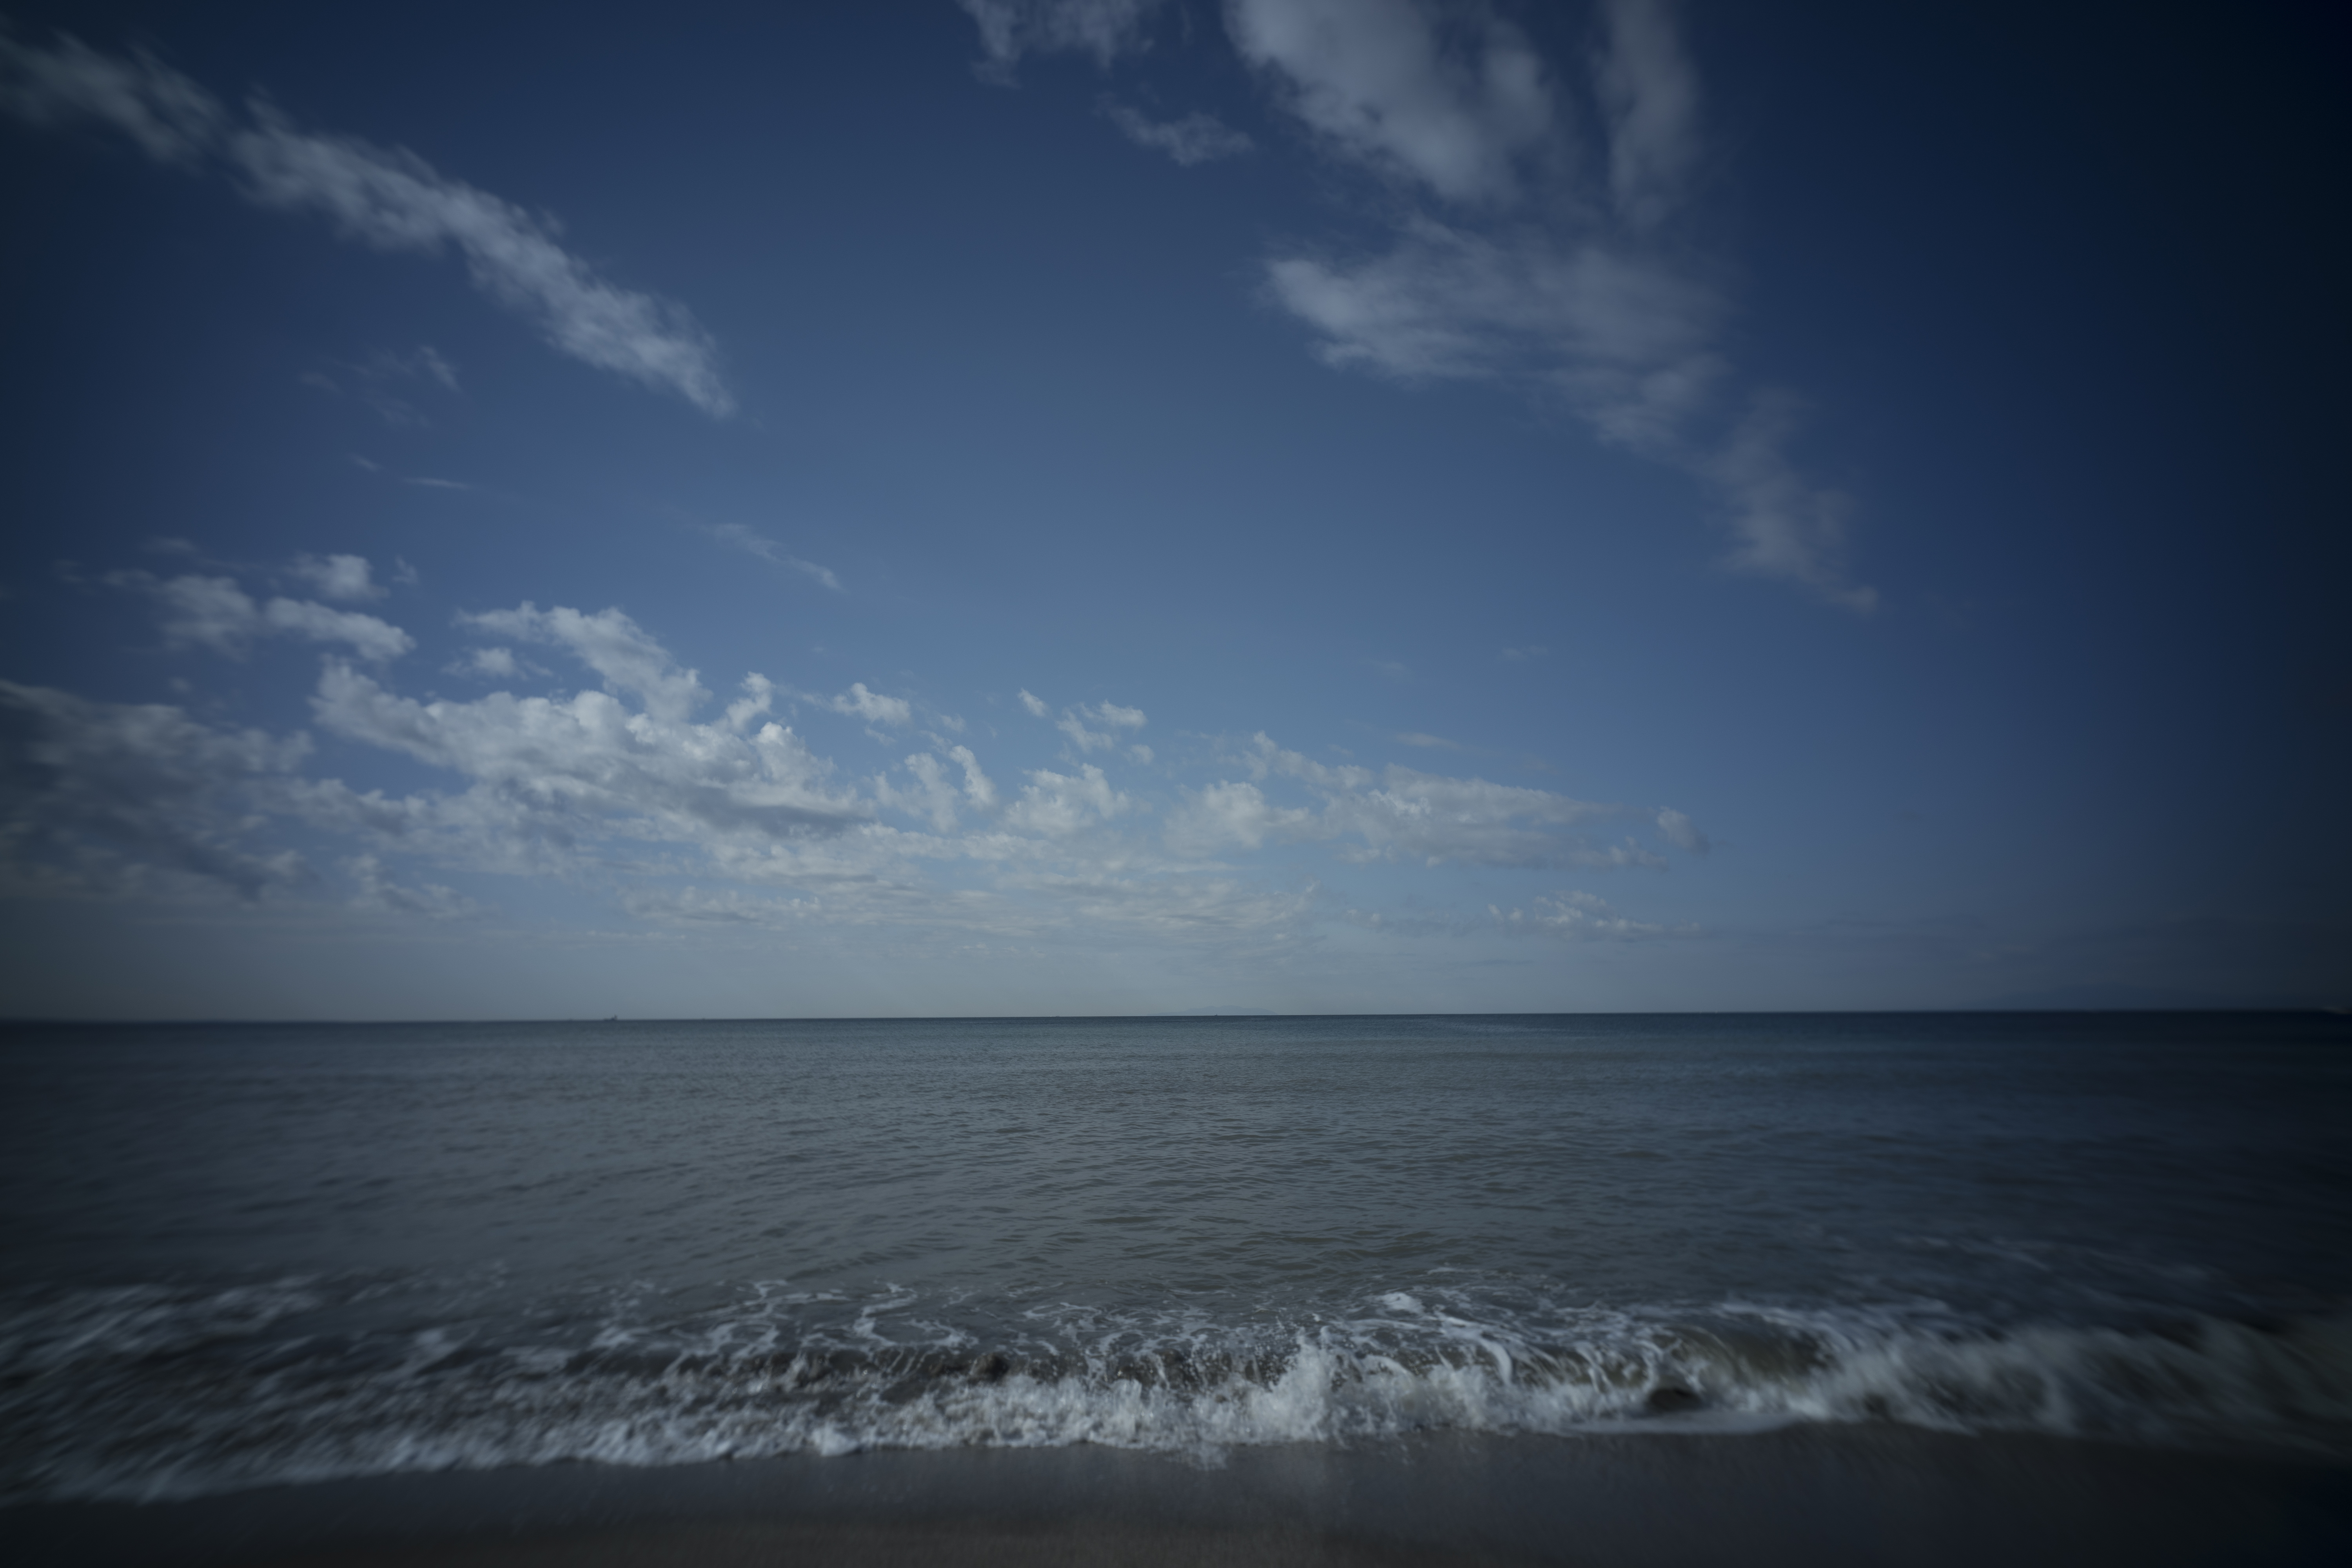
Before processing (Scene 6)
Wide-angle coastal sky with clouds spread across the frame. The largest sky area of all scenes — the clearest showcase of how the 3 intents differ.
Sunset / Blue Hour / Clear Sky — the contrast between the three is most obvious here.
Results are output to Photoshop as SkyWB / SkyWB_blend / GroundWB layers. The intent color overlays are also independent layers — fully adjustable or removable after the fact.
How to use — 3 steps
Point the script at a RAW folder in Photoshop and run it. That's it.
License check
On first launch, a license screen appears. Choose "Skip registration (trial mode)" to get full access free for 30 days.
email address + registration code
Choose intent and options
Select Sunset, Blue Hour, or Clear Sky. Enable "Open RAW with dual WB and composite," specify your RAW folder, and hit Run.
generated automatically
Adjust in layers
Results come out as Photoshop layers. Adjust SkyWB opacity, toggle the color overlay off, and fine-tune from there.
saved automatically
Try it free for 30 days.
No credit card required. Just unzip and launch from Photoshop's Scripts menu.
Full features during the trial. Registration (paid) required after 30 days.